
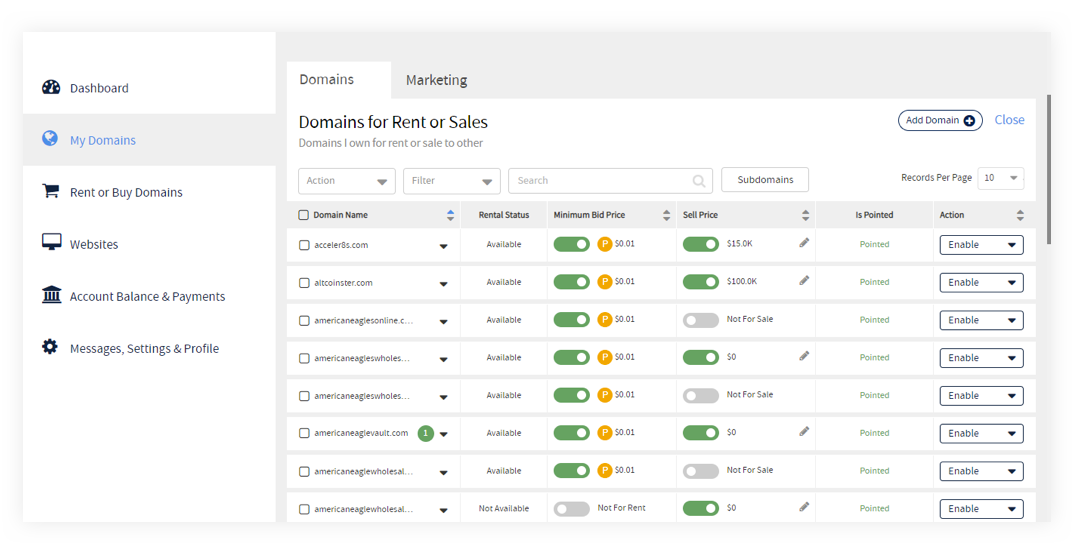
Submitting Domains for Rent
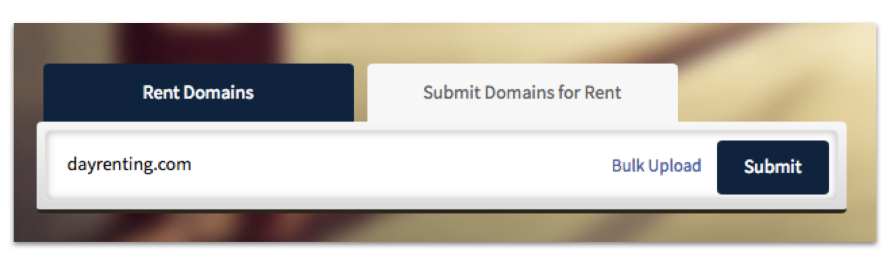
You can submit domain you own directly on the home page by using the Submit Domains tab on the search bar. Submitting domains this way enters them directly into the My Domains: Domains for Rent or Sale page of your Dashboard. You can also submit domains in bulk by clicking Bulk Upload and uploading an .xls document.
Upon Winning the Bid
The winner can choose how the domain will be assigned:
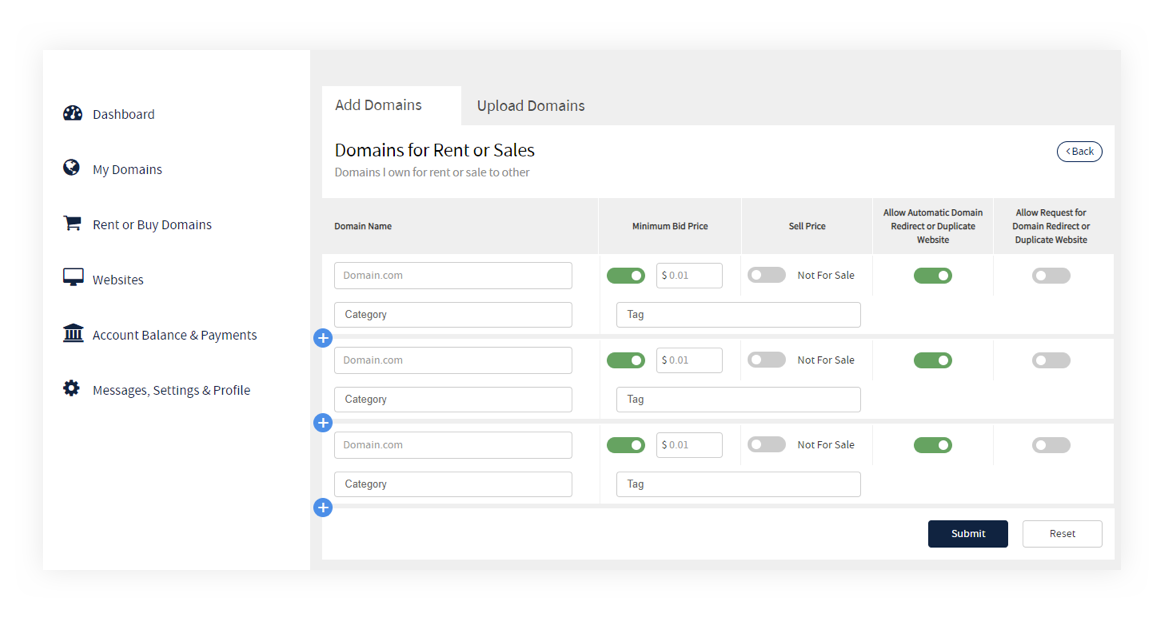
Once you’ve added your domain name, you can apply the following:
Category
Assign the domain to a specific category, or categories. This will help bidders find your domain.
Tags
Assign Tags to your domain. Choose from existing Tags or create a new Tag. Remember, existing Tags have more visibility in Rentstant, so avoid creating new Tags if possible.
Sell Price
As the domain owner you have the option to list your domain for sale. All domain owners can receive offers to sell their domain.
Allow Automatic Domain Redirect
Bidders may choose to redirect your domain to another domain or to a duplicate website, which may degrade your search rankings. Rentstant applies an automatic bid premium increase for all redirected domains, and you can set your own premium for redirects in My Domains.
Allow Request for Domain Redirect
If you do not allow Automatic Domain Redirects, you can allow bidders to Request Redirects. This permits bidders to offer you a higher price to rent your domain and declare what domain or duplicate website they will point your domain to upon winning the bid. You will always receive requests to approve or decline before bids are awarded.
Use the following guide to find directions to change your IP address for most providers:
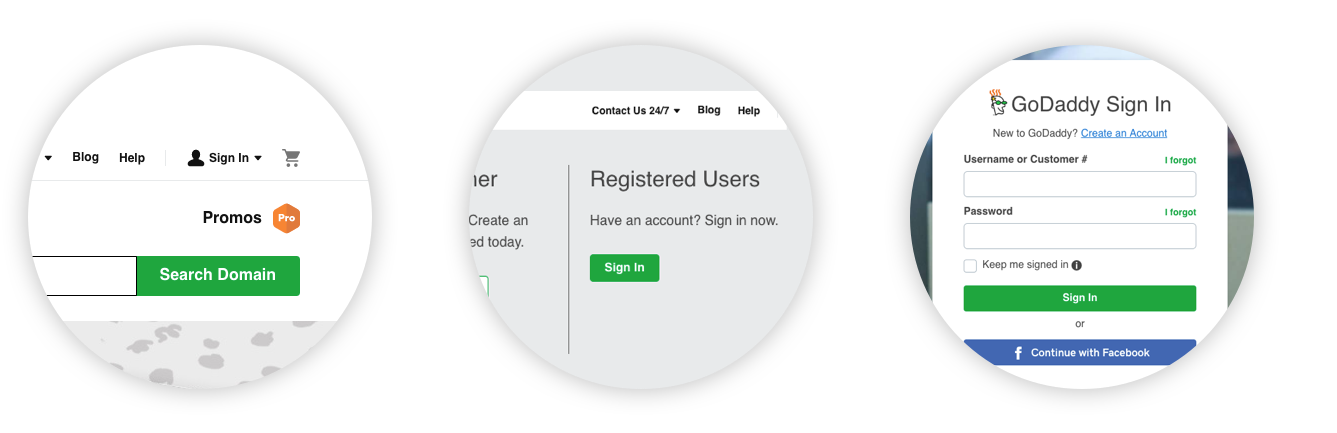
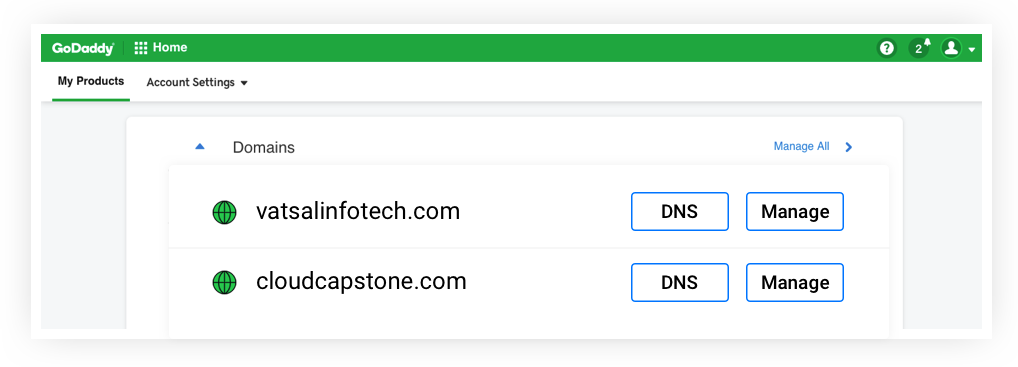
Domain Pointing through GoDaddy:
1. Go to www.godaddy.com and log into your account.
2. Hover Over “Domains” and Select “Domain Management”
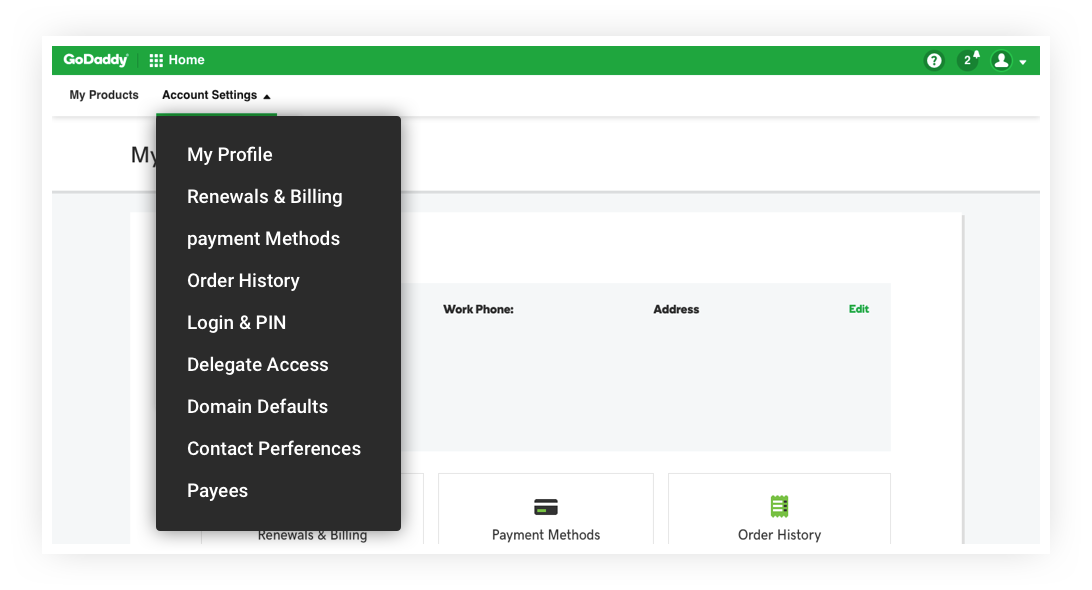
3. Find Your Domain and Click Launch.
4. Scroll Down to “DNS Manager” and Click “Launch”.
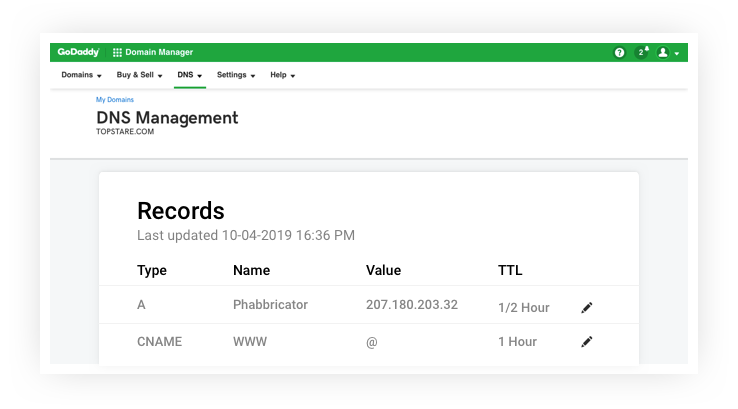
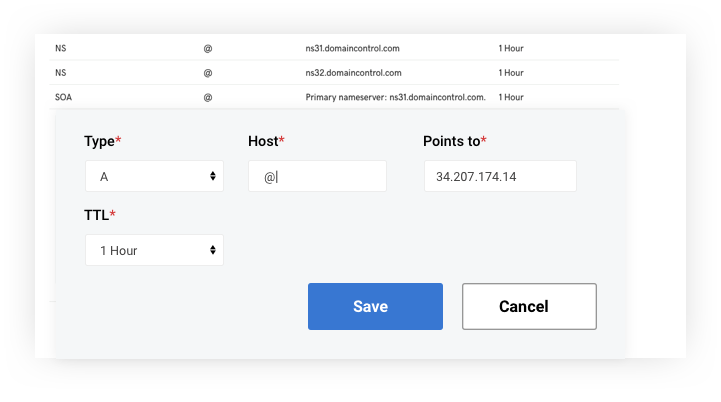
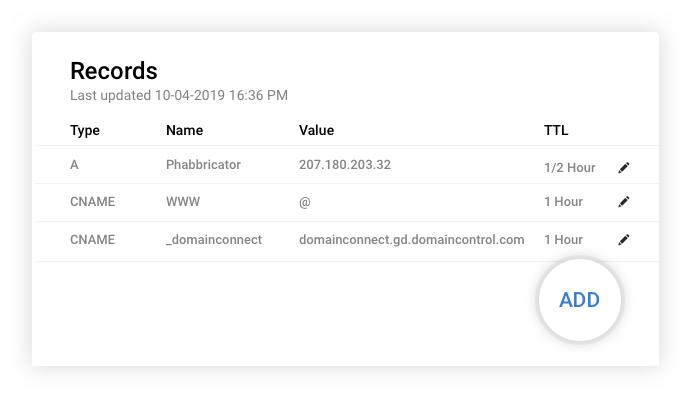
5. Point Your Domain to our IP Address: - In the “A (Host)” box, find the row with the “@” symbol, and to the right of it mouse-over the cell under the “Points to” column heading. Click the pencil icon, then enter 173.249.16.110 and click “Save Zone File”, as shown below.

If you donot click on save button, it will not work.
Rentstant will send you a text or mail, when we have confirmed it will work fine.
For More details: https://support.godaddy.com/help/article/1592/transferringdomain- names-to-us?countrysite=in
Login to your Namecheap Account:
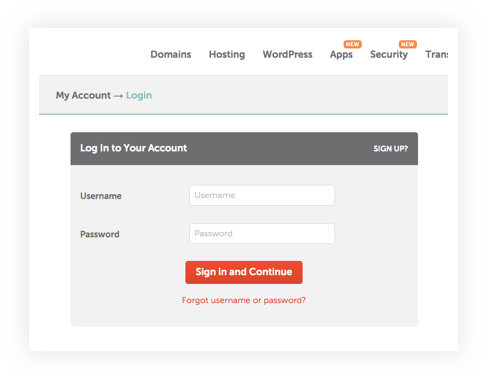
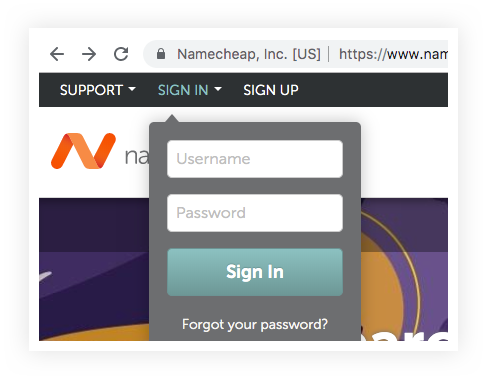
1. On namecheap.com, hover over “My Account” and click “Manage Domains“. This takes you to a login page where you can enter your login information .
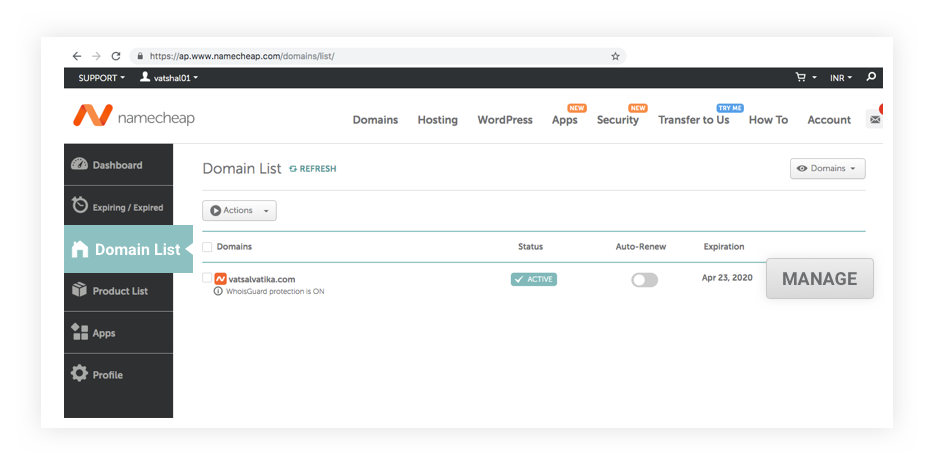
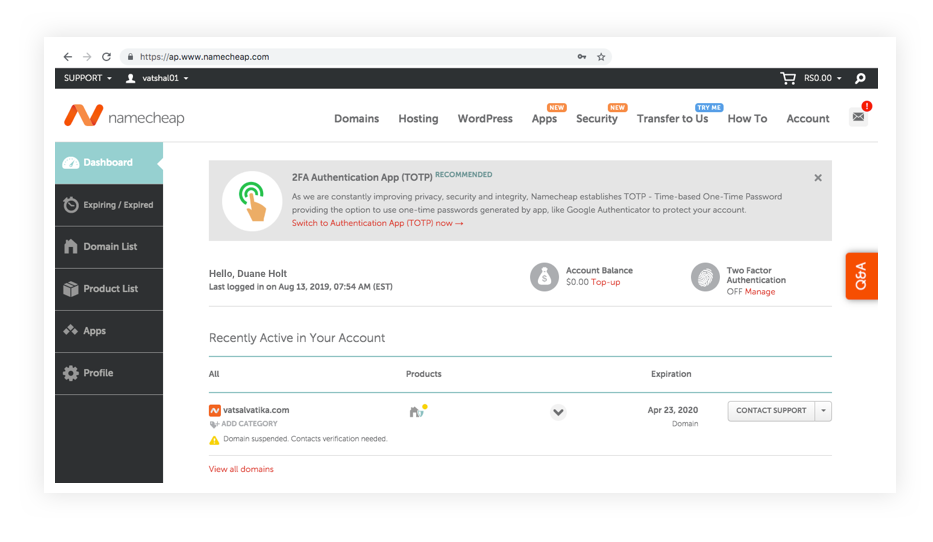
2. Select the Domain You’d Like to Point: You should see a list of your Domains,
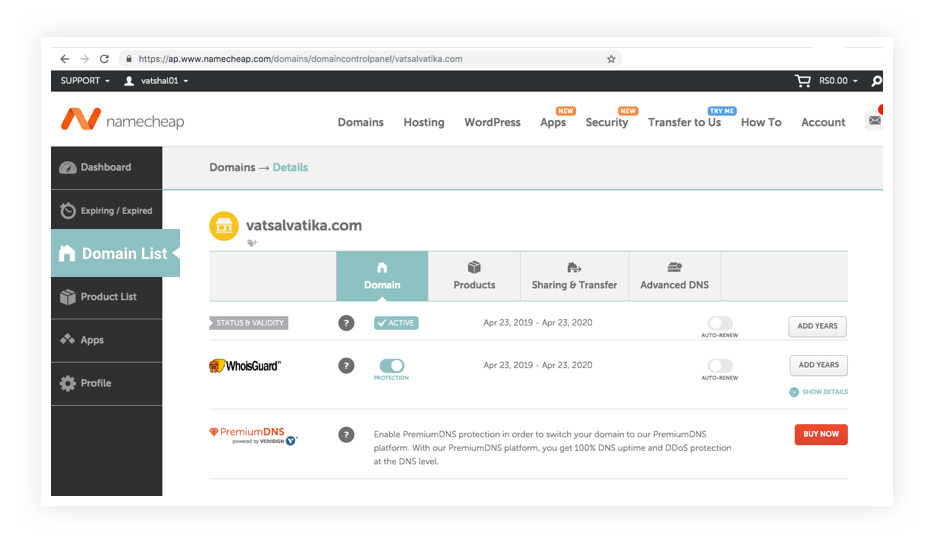
find the domain you’d like to point to your site, and click the linked domain name.
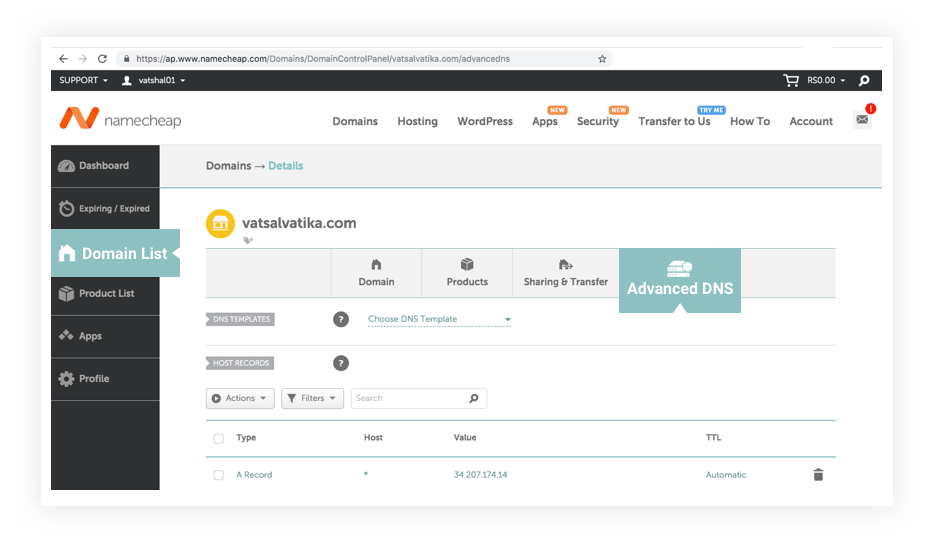
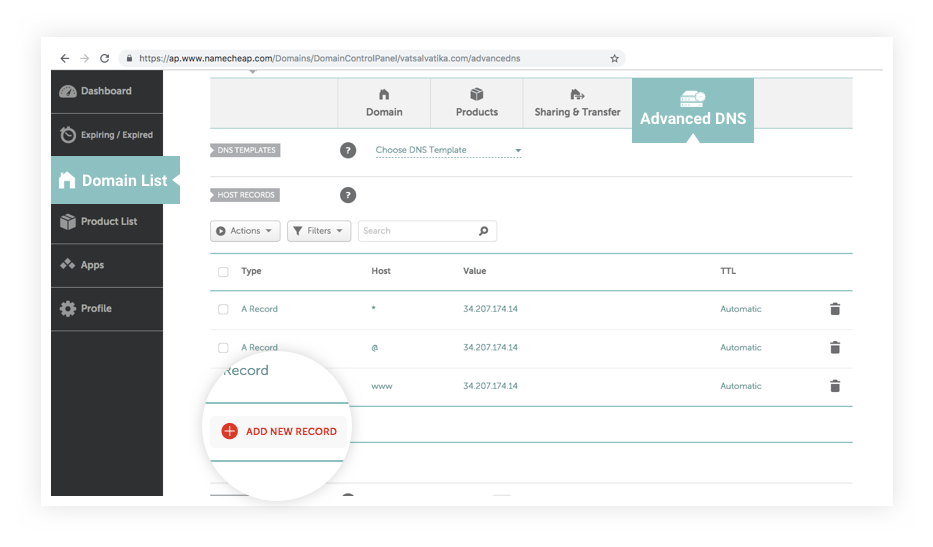
3. Go to URL Forwarding: In the left sidebar, under “Host Management” click “URL Forwarding”.
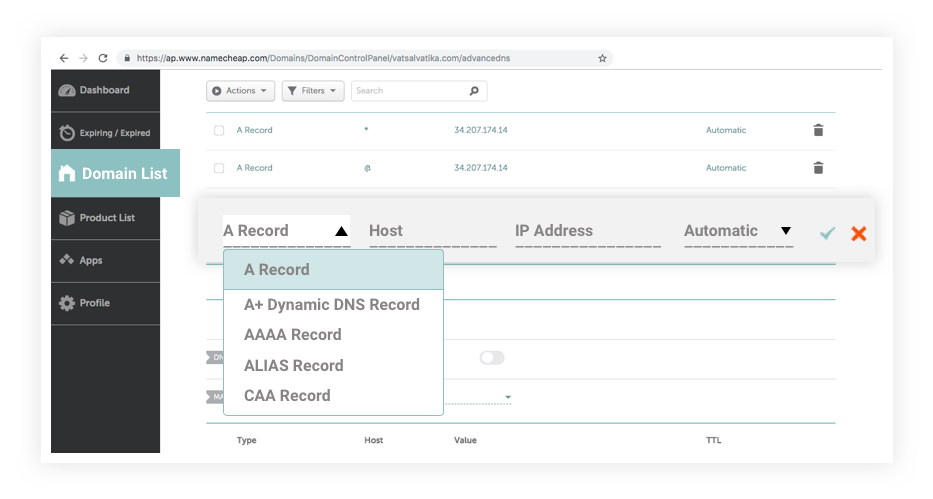
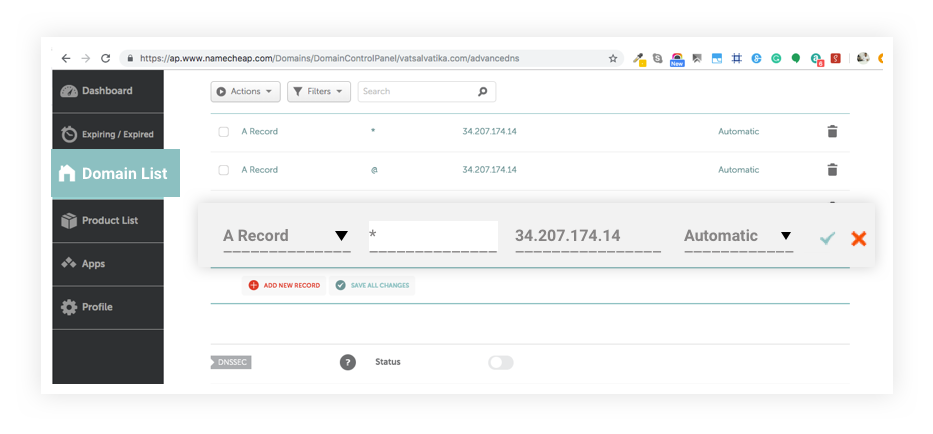
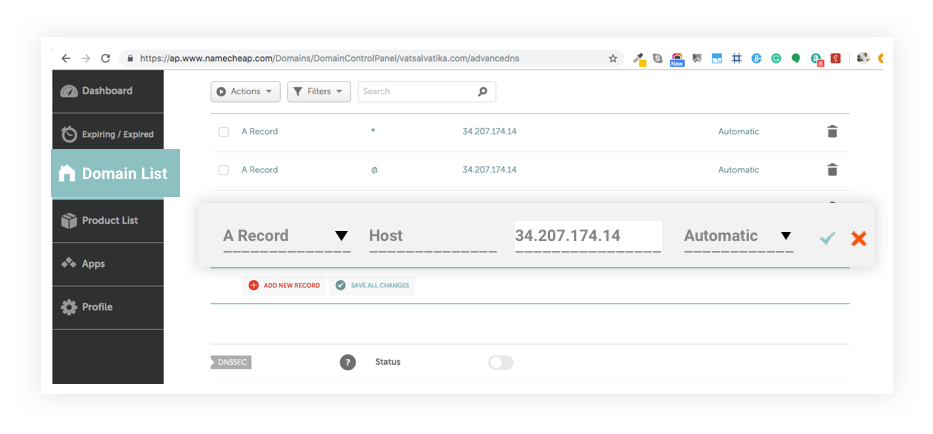
4. Edit “A Record” to Point Your Domain: Look for the “@” and “www” records under “Host Name” – to the right of that, under the column heading “IP Address/URL” enter 173.249.16.110 (our IP address) in both fields. Also make sure “A (Address” is selected from the drop-down menu on both fields, under “Record Type”. See screenshot below. Click “Save Changes” when you’re done.
If you donot click on save button, it will not work.
Rentstant will send you a text or mail, when we have confirmed it will work fine.
Login to your 1& 1 Account & Access Your Control Panel:
1. Login to your 1&1 account, and enter your Customer ID and , and click “Login”. If you have only one package, you will land on the Administration page. If you have more than one package, select the package in question to reach its Administration page.

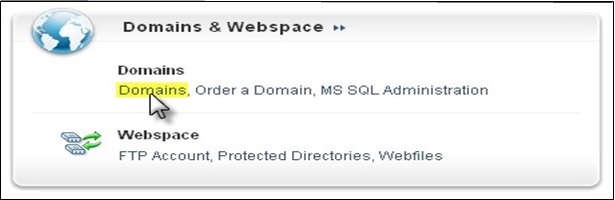
2. Go To Your Domains: Click the Domains link from the Domains & Webspace panel.
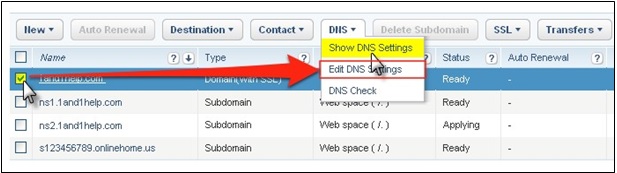
3. Check the box next to the domain to select it and then click “Edit DNS Settings“
4. Point Your Domain to our IP Address: Make sure “DNS” is checked (see below). From the “Basic DNS Settings” drop down menu select “1&1 name server”. Under “Advanced DNS Settings” check “Other IP address” and add 173.249.16.110 (our IP address) below in the four boxes. Click “OK”.
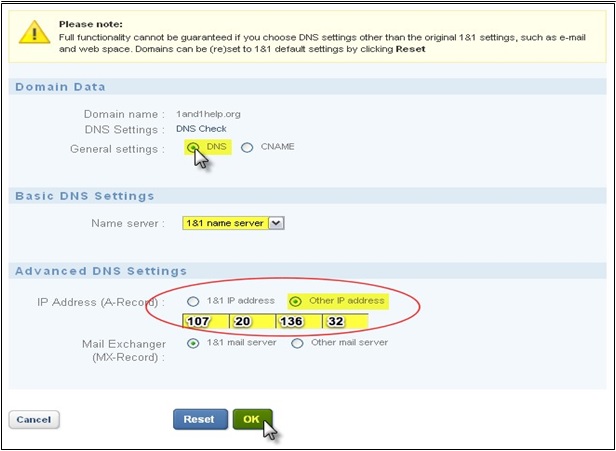
If you donot click on Ok button, it will not work.
Rentstant will send you a text or mail, when we have confirmed it will work fine.
1. To begin using Gandi's DNS, begin by logging into your domain's control panel with the owner, administrative, or technical contact handle (remember, if you have more than one domain, you need to click on the domain in your list of domains).
2. Then, look for the “Name servers” section towards the bottom of the page.
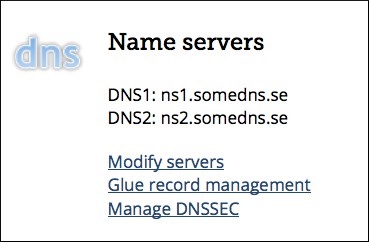
3. If you want to use Gandi's DNS, click on “Modify servers”. This will bring up the following:
4. To quickly switch to using Gandi's DNS servers, click on “Use Gandi's nameservers,”. The form will change to be pre-filled with our DNS and you will be offered the possibility of choosing a pre-existing zone file by using the dropdown menu.
To change your DNS to Gandi's and immediatly associate it with a zonefile that you already have made at Gandi, chose the one you want from your list of zone files and then click “Submit” to continue.
If you donot click on Submit button, it will not work.
Rentstant will send you a text or mail, when we have confirmed it will work fine.
Domain Pointing through Name.com:
1. Log into Name.com account
2. Click "Domains"
3. Click "My Domains"
4. Click the domain name in question
5. Click "Nameservers"
6. Click "Default Nameservers" and click "Apply"
** Please note Name.com Nameservers will be the following: (ns1.name.com), (ns4.name.com)
If you donot click on Apply button, it will not work.
Rentstant will send you a text or mail, when we have confirmed it will work fine.
After you’ve transferred your domain to the Rentstant IP address, go to your My Domains page and confirm
that it is verified.